Showing posts with label background. Show all posts

Tuesday, March 8, 2016

PAINTING ON A COLLAGE

As I said in the previous post, I've been wanting to create an artwork with a neutral color scheme. Searching for inspiration, I went through old canvases and found a collage that needed...something. Basically it was a background.
I used acrylics to paint the expressive suggestion of a face over the collage, adding a few drips as well.
Does it need more work? Maybe. Probably. But I also needed to post something, so there you have it!

Guhin, art+blog
If/when I come back to this one to improve it, I'll post it again!


Wednesday, November 11, 2015

A TWOSOME OF BACKGROUND IDEAS

For your collage or mixed-media works, here's
an easy, quick dynamic duo.
 These ideas work well not only to serve as backgrounds but also as decorative papers to be torn or cut and added as needed.
First up is a method so simple it's almost embarrassing! Paper doilies or crocheted or lacy fabrics make great stencils for spray paint. And you can use the painted materials later!
collage, how-to
Remove some, add some, and spray again!
Wallpaper makes a wonderful start or mixed media material. Attach a sheet of it to a substrate if you wish to fill in a background fast. The floral below was embellished with painted flowers and stems. It's not a finished artwork in my view, but  I'm saving it for possible future use. I can picture torn pieces coming in handy, maybe.
Guhin, mixed-media
Ask your paint dealer for a discontinued wallpaper book or two!

Saturday, June 6, 2015

NOT MIXED MEDIA WITH TRANSPARENCIES AGAIN!?!

(My apologies in advance for those of you who prefer your mixed media without the addition of transparencies.)
I find copies so versatile and fun that I've experimented endlessly with them in many guises. I've also posted about them in this space numerous times, so please bear with me if you've been a long-time follower.
NOW FOR TODAY'S PROJECTS!
technique, art+activity
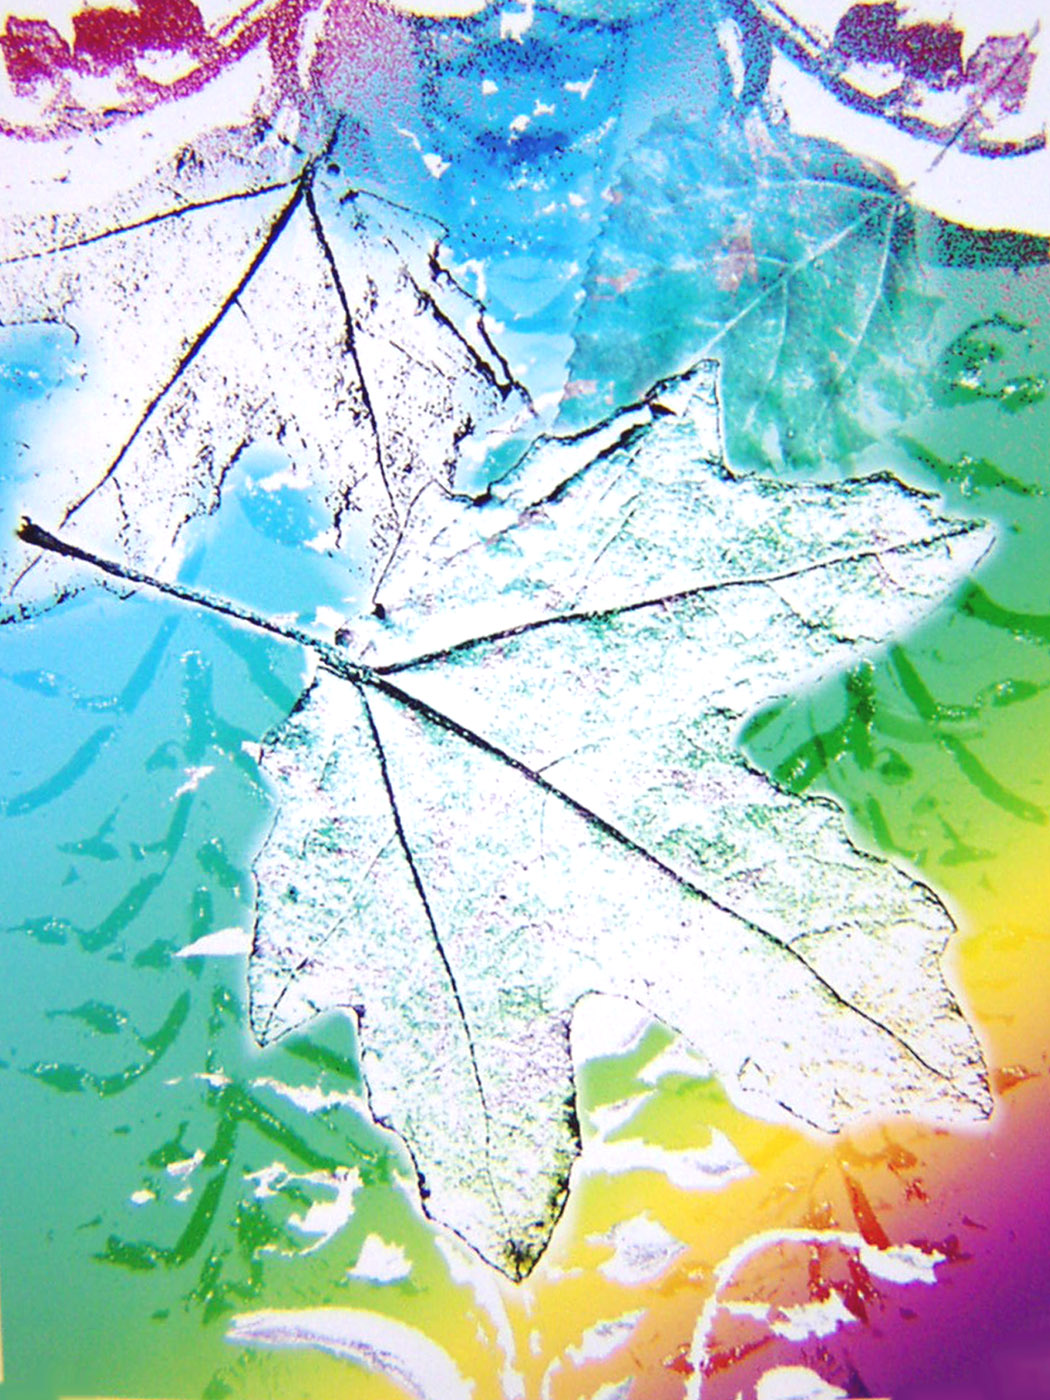
I printed this out on my home computer.
I used an original
leaf photo of my own,
altering it in Photoshop
for a very colorful
background.
TIP: Note the
white spaces,
necessary for this
activity. Also remember
that your own
background cannot be
too terribly dark, or
you will lose contrast.

Next, I altered a
photo portrait to
pure black (and
clear), very
graphic (no gray).
I printed that 
transparency, P.Guhin, how-to
Try other backing sheets too! Sooo fun.
onto transparency
film, and lay it
over the colorful
background image.


Below, another idea!
I merely used soft
pastels to create a
gradient effect on good paper the same
size as my transparency (of a person on a dock, framed by foliage). Then I just sandwiched them together. So simple and yet, I think, quite striking.
tutorial, technique, Guhin  
Some of you might prefer more color in the sky.
PRIZE AWARDED TO A FOLLOWER! For those who participated in last week's contest,
the winner is Julie Mortillaro. Congrats to her, and
my sincere thanks to the others. Julie, please
privately send me your usps mailing address.

Saturday, May 9, 2015

MIXED MEDIA TECHNIQUES FOR COLLAGE, BACKGROUND, & MORE

I know the two photos below might look unappetizing to some people, but the methods behind them can be very useful!

But first, let me ask you readers about a couple of techniques I tried and failed at:

Have any of you ever had any luck with stamping laundry bleach onto dark papers? My stamps dripped, which could be remedied, perhaps, with gel bleach. And regular bleach is so thin and runny that my "prints" were pretty bad. Maybe if I had some sponge stamps! Yeah, that's the ticket!

Then I tried another idea, hot glue stamped with impressions. But the darn glob hardened too quickly, and my gadgets got stuck in the glue! I've had good results with drips that I then painted with metallic. But stamping a big glob was another fail for me.

NOW FOR THE TWO TECHNIQUES I LIKED...
Dry walnut ink crystals are soooo cool. I know you can get liquid walnut inks in sprays, too, but the crystals are so versatile. Sprinkle them randomly on damp paper, or sprinkle on dry paper and spatter them with water or thin paints. Then you can blot them or not, or tilt the paper for drips (or not).
P.Guhin, art+blog
I actually sprayed the crystals with Color Mists! Subtle but nice.
Chalk powders such as Pearl Ex can also be misted or squirted with water or thin color.
For this example I held the paper up for a few runs in the effect.

Guhin, mixed-media
      You might even use scrapings from chalk pastels.
I wouldn't overdo with the walnut ink idea, but in small doses it might be nice! And the pretty powders make a gorgeous background! I hope you'll try them, and do comment if you've had good luck with bleach-stamping or impressing hot glue. I'd love to see some great examples!


Friday, March 27, 2015

COLLAGE OVER AN APPROPRIATED IMAGE

       Butterflies are strong metaphors for Spring, re-birth, new life.

I gave a portrait from a magazine new life as the background for this piece. I was drawn to it because of the flaming hair! I altered the paper with CitraSolv, sandpaper, and thin, watery gesso (over the features). Here's the altered paper: 


tute, how-to
This will be the basis for a mixed media work.


When the gesso was dry and the paper flattened, I adhered 5 paper butterflies in a strategic placement, as well as a tissue flower I cut from gift wrap...see it in the lower right corner. As a final step, I added a few acrylic paint accents. 
mixed-media, Guhin, collage
Another ode to Spring!
See my previous mixed-media Spring collage using CitraSolv papers at THIS POST!
Guhin


Guhin

Monday, November 12, 2012

PAINTING ON A VERY WIDE CANVAS

If you're working on a tall, narrow substrate, it's best to compose a painting that works well within the confines of that vertical format. Not that you have to paint a giraffe or a skyscraper, but you get the drift!

Conversely, if you prefer to use the canvas for a horizontal painting or mixed media artwork, choose subject matter that lends itself to that wide shape.

Here's an abstracted acrylic painting I did to help illustrate this concept: Hope you like it.

Monday, April 16, 2012

HOW TO IMPRINT LEAVES WITH DYE & MAKE SOMETHING BEAUTIFUL!

This project is so easy, and yet the results can be very striking! 
Use the papers as artworks in themselves, or as backgrounds or collage elements in other works.


MATERIALS:

  1. Absorbent, smooth watercolor paper
  2. Liquid fabric dyes
  3. Leaves with prominent veins
  4. Pane of glass or plexi, and heavy books
PROCESS:

  1. Arrange a variety of leaves (different sizes and shapes) on a pre-dampened sheet of watercolor paper. Add a few grasses here and there if you like.
  2. Flood the paper with vivid, beautiful colors of liquid fabric dye. (Liquid watercolor paints or inks work, too.) Select a few colors, lighter and darker, that work well together.
  3. Place the sheet of glass on top, and a heavy book to weigh it down. Let dry overnight. Try several of these, since results can be mixed.
[cool colors]


Be sure to check out my previous post on how to select a fabulous colour scheme! And please see my photo blog on Tumblr, I Luv Photography!

Friday, February 10, 2012

How to Create a Mock Leather Effect

My most recent book at the time of this posting is Creating Decorative Papers (available from Stackpole Books or Amazon.com, amongst others). There are two different methods in the book regarding faux leather. One of them is pictured here, and it's really easy!


You can use this 
distressed leather effect 
on a book cover,
 in a collage or collage/painting, 
even on your walls or wood furniture!

Friday, February 3, 2012

Painting with a Roller, Part II

The first example is similar to one shown in my last post, done with a hard rubber printmaking brayer (or a foam roller). Remember, you can curve or zig-zag as you roll on the ink or paint.


The next photograph, below, demonstrates the use of a cheap foam roller to which I took a pair of scissors! Just cut out gouges here and there in the foam, at random or symmetrically. Then ink up the roller evenly on a pane of glass or on a flat sheet of metal, plexi, or china. Use block printing ink, acrylic paint...even tempera will work (but it won't be permanent).
Here, I allowed each color to dry before proceeding with the next, but how about THIS for an idea: Ink your roller with two different colors, one on each side, and roll them simultaneously? Choose colors that work well together.

What an easy way to create decorative papers!


Saturday, January 28, 2012

PAINTING PAPER: A PANOPLY OF FUN METHODS!


                                        The sampler pictured above is from the book Creating Decorative Paper

Painting with Rollers or Brayers 

This technique is simple and effective. The results can be stunning.

A brayer is a printmaking roller that's very handy for creating special effects on paper or canvas, but you can use a regular old paint roller or a sponge or foam roller, too.
  1. Spread old newspapers on your work surface. 
  2. A large piece of glass or plexi (with the edges taped for safety) can serve as the flat surface upon which to spread your paint or printing ink.
  3. Roll the brayer in the paint/ink until it's well-covered thinly, not too juicy.
  4. Roll a straight or curvy application on your paper of choice. Repeat. Leave some areas unpainted if you wish.
  5. Add a different color to the glass and mix it with the previous color if desired. Or clean the brayer and the glass and try another color entirely.
(Here, a few sparkles of the original white paper have been left untouched...er, unrolled!)
I plan to post several more easy variations using paint rollers very soon, so please check back!  

Friday, January 13, 2012

Be a Follower to Qualify for this Drawing...a Free Book!

The prize for this contest is my most recent book, just out this month! 


Simply become a follower of this blog (if you're not already) and you'll be entered in the random drawing.


This offer is good until Friday evening, Jan. 20, 2012, when the winner of the blog candy (book prize) will be announced.


Winner must email me his or her snail mail address (post office address).


Monday, July 4, 2011

DECORATIVE PAPER MADE WITH INK AND TURPENTINE

I put down a layer of dye-based ink on a non-absorbent white sheet of paper. While the ink was still damp, I ran a brush through it, here and there, that I had soaked in turpentine.
This is the effect I achieved!

Monday, June 27, 2011

TWICE THE DECORATIVE PAPERS WITH TISSUE AND PAINT!

MATERIALS:
  1. Thin, inexpensive tissue papers.
  2. Dyes, liquid watercolors, dye-based inks, or thinned acrylic paints.
  3. Brushes.
  4. Smooth watercolor paper.
TECHNIQUE:
  1. Crinkle the tissue and spread it out over smooth watercolor paper.
  2. Slap on vivid, strong color right over the wrinkled tissue.
  3. Let dry overnight. (If the acrylic paint is not thinned enough, it may stick if left on for more than an hour or two.)
  4. When you remove the tissue, BOTH it and the watercolor paper should show wonderful batik-like patterns. If you are disappointed in the results, do try again with other tissues, papers, inks, or paint media.
The result is shown at right, below. The tissue used is at left.

Tuesday, June 14, 2011

MAKE YOUR OWN COLLAGE PAPERS WITH GOLD LEAF AND MORE!

To make my first example, I used a deli paper page I'd previously decorated with water and alcohol inks. I applied gold leaf to it (which looks brownish here).


Then I painted here and there with a glaze of orange acrylic paint.


For the next project, I first applied crackle medium to rigid paper, let it dry, and then painted it with acrylics. It looks rather nice this way, I think. But that's not all!
The gold leaf I added (after the paint was nearly dry) is an elegant counterpoint to the rough, crackled surface.


Friday, June 10, 2011

TWO EASY WAYS TO MAKE DECORATIVE PAPER

Both these methods are so simple, and fast too! Well, the second technique has some drying time, but it IS quick to make.


Deli wrap adds translucence to this first idea. I photographed it with some lacy black  paper underneath (in the upper left corner) to show how sheer it is.


I simply used water and alcohol inks to create a random, distressed-looking design.


The second method requires sturdy paper or card. Use a painting knife to apply either texture paint (as shown here), molding paste, or heavy gel medium.


While it's still wet, embed tiny beads. These red ones are very small no-hole glass beads. I also used antique gold glitter, which looks white in the photo below.

When dry, seal with clear fluid acrylic medium.

Sunday, May 29, 2011

IMPRINTING YOUR OWN PAPERS TO USE IN COLLAGE

Both these techniques are quite simple to do, and the results can be startling!

Technique #1: Soak good watercolor paper in clean water, place it on a hard surface, and apply plenty of vivid, strong liquid watercolors. Lay absorbent textured materials into it. Examples include crocheted fabric, swirls of string, or open-weave burlap. Add more full-strength paint as desired. Place a sheet of glass on top and let dry overnight. If necessary, add a book on top of the glass to weigh down your creative sandwich!


Technique #2: Buy cheap colored tissue (the non-colorfast kind!) in strong colors, tear pieces as desired, and arrange them on damp, smooth watercolor paper. Spray with more water as needed. Then cover with the sheet of glass as before and let dry overnight.


Experiment with both these methods and do try variations, too! Much luck to you.
(I'll publish your successful attempts at either of these here, with you credited, of course, if you wish to send me good quality images.)

Friday, April 29, 2011

BEAUTIFUL BATIK-LIKE EFFECT IS SOOOO SIMPLE TO DO!

White drawing paper is fine for this technique. Wet it on both sides (I dunk it in the sink) and then crumple it into a ball.


Open it up gingerly, without tearing
the paper. Lay it flat onto freezer paper or newspaper. Paint with vivid, full-strength watercolors and a wide brush, all over the paper. Even this side (below) is rather nice, isn't it?


Finally, flip the paper over and take a peek at the back...you may prefer that side.

Tuesday, January 11, 2011

Paint, Press, and Peel! An Easy Technique to Make a Background.

Altering paper to create interesting backgrounds or collage papers is simple and inexpensive. Use an enhanced sheet as an element in a collage or as a ground on which to create a two-dimensional work of art. It can also serve as a mat: Place it between a sturdy support and a piece of artwork, or cut a window and place it on top.
Below you’ll find a tried ‘n’ true tutorial for creating a striking effect on paper.


1. Select vintage papers you don't value too much, scrap sheets, or even newspaper pages.


2. Paint acrylics randomly and heavily here and there onto one sheet of paper. Quickly mix and blend colors as desired, using whatever tool you wish. Leave some of the paint thicker in places.


3. While the paint is still wet, press the first piece of paper into it and lift. Instant texture!
4. Try smaller pieces of paper lifted in different directions to produce variety. Keep pressing and lifting more papers until the desired effects are no longer produced.
(Some of you will think my examples look just plain messy, and I would have to agree with you! However, I do plan to use them, changed, as elements in other artworks.)


Free to a Commenting Follower


Remember my freebie (previous post) to be given to a follower who leaves a comment? If you've already done so below, great! Your name is already in the hat. But if you haven't yet and still want a chance to win the blog candy (Romance, frame and all), please leave a comment here. The random drawing will take place Saturday, January 15. Winner announced then!

Wednesday, July 28, 2010

Handy Tip for Decorative Paper

This one's for all of you who like to make your own, unique papers.
Beg or buy an expired and textured wallpaper book. The pages can
be very nice as they are, but make them even more interesting with a
wash of acrylic paint. Customize a page to fit a particular color scheme!